Necrons – Annihilation Barge

Annihilation Barge

Please specify a Flickr ID for this gallery

Like the Ark kit, the barge kit can be made into two different nits; the heavy weapon platform Annihilation Barge or Command Barge, both are AV13 skimmers making it fairly difficult to deal with quickly. I like the strength of both units, but am currently favouring the heavy option, especially as it’s only 90pts – bargain.

The twin-linked Tesla Destructor has the potential to dish out some serious hits; S7, assault 4, and as it’s Tesla it triples wound output for any to-hit roll of a 6. If that’s not enough, if it generates at least one hit, the Destructor can ‘arc’ into any unit (friend of foe) with 6″ of the target unit on a 6, causing additional damage to secondary units.

I’ve fielded one A-Barge in battle so far with a respectable return on investment, thanks to birthday gifts my Necron force now fields two for added tesla goodness.

–Andrew
Necrons – Arks of the Covenent

I love the Necron Ark kit, one of GW’s first multi-option kits. That is, until I started building my first Ark, this kit lives up to it’s reputation as one of GW’s trickiest kits.

Ghost Ark

Please specify a Flickr ID for this gallery

The Ghost Ark forms the core of a Necron warrior phalanx, providing transport, firepower and even the ability to re-animate fallen warriors. Getting the Ghost Ark into a premium firing position can be tricky as the vehicle’ weapons can only broadside so you risk exposing rear armour to the enemy, but as the Ghost Ark is open-topped it also allows a full unit of warriors (or Crypteks *cheese*) to fire from the platform. The pay-off is if you can position the Ark between multiple enemy units the volume of fire can be withering; in my last game it took out a full SW blood claw and long fang unit in a single turn, not a bad damage output.

Doomsday Ark

Please specify a Flickr ID for this gallery

The Doomsday Ark is the heavy weapon variant of the kit, mounting the rather frightening Doomsday cannon; 72″ range, S9, AP1, large blast. Not much can withstand that level of punishment. Unfortunately that statline is only relevant if the Ark remained stationary, if it moved it’s reduced down to 24″, S7, AP4 standard blast; not as devastating, but still no slouch if you need to reposition the Ark for a better tactical position.

I’ve yet to use the Doomsday Ark in a competitive match-up, but I’m looking forward to seeing it make it’s first kills.

–Andrew

Starting with scenery

As my Wordbearer host is starting to grow I decided it was time to build some scenery for them to fight over. Building scenery is something I’ve never really tried to do so I’ve attempted a few different projects to figure out what works, but mostly found what doesn’t.

Progress so far:

Hills
Noone wants to fight over a flat, desolate landscape, I thought hills would be a good place to start. First attempt was to shape a block of polystyrene, base and paint. End result, it’s not exactly hill shaped (and still not fully painted:

Polystyrene hill - attempt no 1
Polystyrene hill – attempt no 1

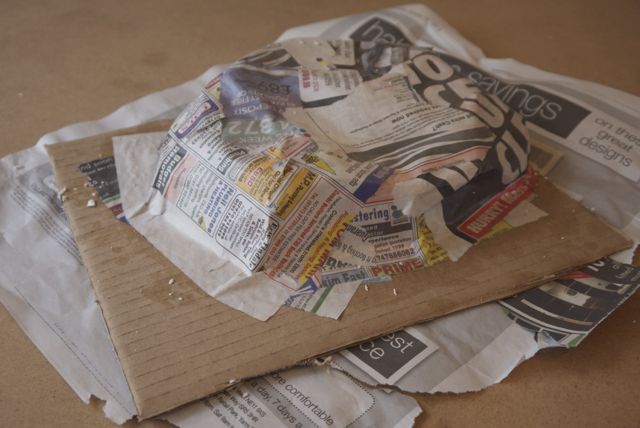
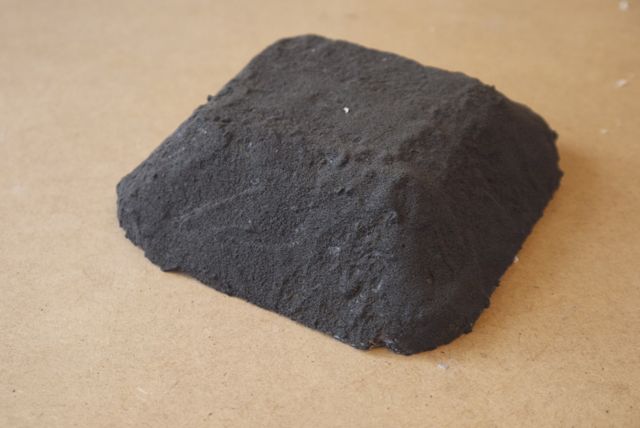
Second attempt at hill making took my back to my childhood: Screwed up balls of newspaper provided the base, with layers of papier mache providing the finish. This is still a WIP, and not ideal but I do think it shows more promise thank the polystyrene variant, and with cheaper materials to boot.

Papier mache hill - WIP
Papier mache hill – WIP

Fortifications
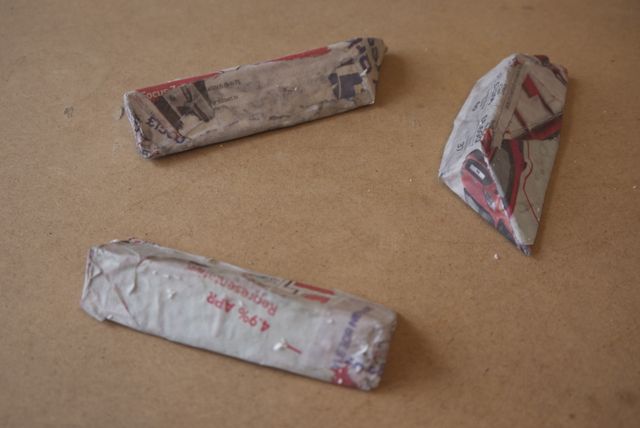
As I already had my polystyrene blocks and papier mache out, I tried my hand at some basic fortifications, essentially looking for some small, bulk and cheap scenery to change the battle field between each skirmish. Basically chopped the polystyrene into strips, and papeir mached for a foundation. I still need to paint these up (black spray, grey/white drybrush) but they should definitely do the job for cheap and plentiful scenery until I can flesh my collection out with more advanced pieces.

P1020346

–Andrew

Necrons – Stalkers and Hyperspace Hunters

Triarch Stalker

Please specify a Flickr ID for this gallery

The Stalker is, in my opinion, a very cool looking model; and thankfully it has some useful abilities on the battle field. I’ve provided mine with the weapon loadout unique to the Stalker, the Heat ray.

Like the Doomsday Cannon, the Heat Ray has two alternate firemodes, providing some great levels of tactical flexibility:

  • Focused Beam: 24″, S8, AP1, Heavy2, Melta – Perfect for popping heavy armour
  • Dispersed Beam: Flamer template, S5, AP4 – Perfect for handling infantry hordes

If the heat ray wasn’t enough, the Stalker adds to Necron’s pool of AV13 armour AND if the heat-ray hits an enemy unit, all other Necron units targeting the same enemy unit count their weapons as twin-linked thanks the the Stalker’ target relay ability. Synergy FTW.

Deathmarks

Please specify a Flickr ID for this gallery

Deathmarks are essentially snipers, with all the offensive capabilities that the sniper rule brings to the table. Increasing deathmarks’ kill-ability is the Hunters from Hyperspace ability, pick an enemy unit when deathmarks enter the battlefield and they gain bonuses to ability to take out chosen unit even more easily than usual. Filter in deep-strike with the ability to arrive in the opponents turn thanks to Ethereal Interception, and deathmarks can definitely become a thorn in the opponent’s side.

–Andrew

Stripping paint from miniatures, UK style

I’ve been a gamer for many years, so long in fact some of my collection is over 20years old. Whilst my painting skills are far from Golden Daemon standard some of my first forays into gaming are, um, not good. But some of the figures are great, and with the cost of gaming going up (there’s another rant right there) and spawn0 draining my bank account I’ve been trying to be more frugal and reuse some of my old collects.

First aspect of this is to strip the old paint from the miniature. I’d spent a while searching through various forums for advice on stripping paint, most solutions I found were US-centric with specific products (mostly oven cleaners) named. Based on this I started with an owned brand oven cleaner, the results were less than spectacular.

Luckily I’ve since come across Spud Tate – paint stripping from a gamer in Leeds, recommending Superdrug’ acetone free nail polish remover. At ~£1 a bottle, it was too tempting not to try; pleased to say first test batch was successful, old Delaque gang currently submerged as I type.

–Andrew

4weeks and counting – Middlesbrough 10k race 2013

I’ve been meaning to post an update for some time: Despite it being the safe bet, I’m still training and somehow it’s going better than expected – My progress can still be followed over at RunKeeper.

I hit a major (for me) milestone last week, completing 5km without needing to stop/slow (and in a reasonable time, <35mins). As this was my original training goal back in 2012 I proud to have got there in the end, unfortunately it left me with five weeks training to double my distance if I’m to complete the race’ course in one piece. Feels like a tall order needing to add an extra km every week, but so-far It’s an increase I’m managing to stay ahead of.

As I’m now only 28 days from race day (providing opportunity for ~12 training runs) I’ve finally gotten around to setting up my Just-Giving page for anyone that able to help spur me forward and help out an excellent local charity, Teeside Philanthropic Foundation, in the process. Any donation, great or small, will be greatly received.

Thanks in advance, see you at the finish line.

Andrew Waite